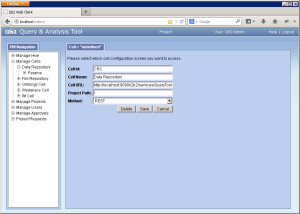
Now that you have installed the cells the next step is to update the cell data in the i2b2 Administration Module. The following steps will guide you through the process of editing existing cell data. This is needed for any installation that does not use the demo URLs (i.e. http://localhost:9090/...)
Important In the Data Installation chapter, the cell data for the required i2b2 core cells was loaded into the cell data table when installing the Pmdata. By default the cells are configured to work with the i2b2 demo database. This means localhost and port 9090 are part of the cell's address. To be safe you may want to review the default settings at least once to determine if anything is different in your environment.
Edit Existing Cell Data
The i2b2 Web Client and Workbench will now be able to connect to the cell. For additional setup information regarding projects, users, parameters, etc. please see the chapter titled Initial Setup

