Internet Information Services (IIS) is a Web Server role developed by Microsoft and included with all Microsoft's operating systems. By default the IIS is typically not turned on when the operating system is installed. In order to host the i2b2 Web Client the IIS needs to be turned on.
The following steps will outline the process of Installing IIS7.0 on Windows Server 2008. If you are using a different version of Windows Server or IIS it is recommended you follow the instructions defined by Microsoft. You can find out more information about IIS by visiting the following website: http://www.iis.net/
| indent |
|---|
|
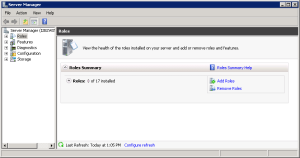
1. In Windows Server 2008, the roles are managed in the Server Manager application. This application can be accessed by going to your Administrative Tools menu and selecting Server Manager. |
| indent |
|---|
|
2. In the Server Manager window, select Roles from the panel on the left. The Roles Summary view will display on the right. |
| indent |
|---|
|
|
| indent |
|---|
|
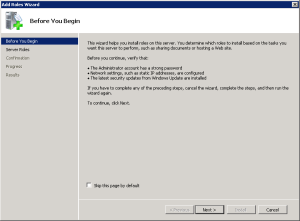
3. Click on Add Roles located on the right side of the Roles Summary view. The Add Roles Wizard will open. |
| indent |
|---|
|
4. Click Next to select which role to install. |
| indent |
|---|
|
|
| indent |
|---|
|
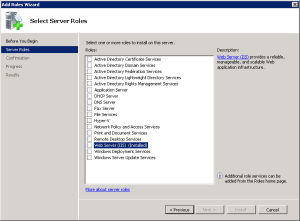
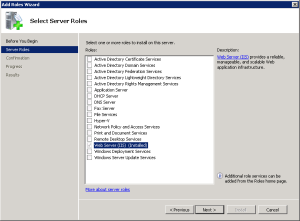
5. Select Web Server (IIS). |
| indent |
|---|
|
|
| indent |
|---|
|
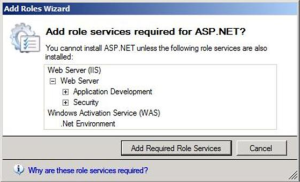
6. The Add Roles Wizard will notify you of any required dependencies. IIS depends on the Windows Process Activation Service (WAS) feature; therefore the following informational dialog box appears. |
| indent |
|---|
|
|
| indent |
|---|
|
7. Click Add Required Role Services to continue. |
| indent |
|---|
|
8. The Web Server is now selected for install and the Select Server Roles dialog box will open. Click Next to continue. |
| indent |
|---|
|
|
| indent |
|---|
|
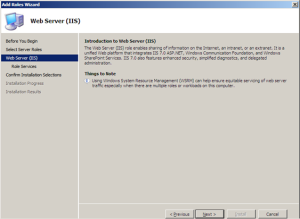
9. An informational dialog will appear. Click Next to continue. |
| indent |
|---|
|
|
| indent |
|---|
|
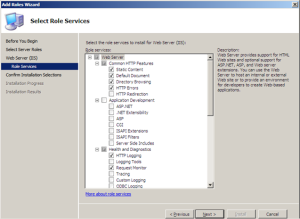
10. A list of all IIS 7.0 features available for installation will display. The features included in the default installation are already selected. |
| indent |
|---|
|
|
| indent |
|---|
|
11. Click Next if there are no additional features you wish to install. |
| indent |
|---|
|
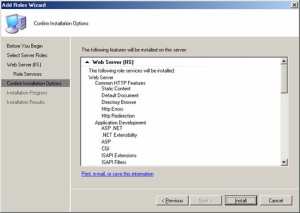
12. A summary of what will be installed will display. |
| indent |
|---|
|
|
| indent |
|---|
|
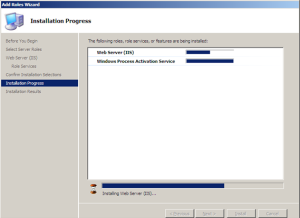
13. Click Install to continue. The Installation Progress dialog will display. |
| indent |
|---|
|
|
| indent |
|---|
|
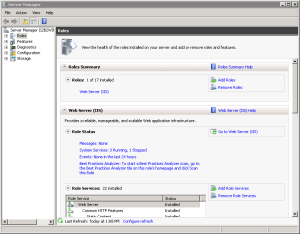
14. The Installation Results dialog will display when the IIS 7.0 installation is complete. Click Close to exit the Install Roles Wizard and return to the Server Manager. |
| indent |
|---|
|
|


