Steps to add roles to a user
The following steps outline the process of defining a user's role(s) for a project in the i2b2 Administration Module.
| indent |
|---|
|
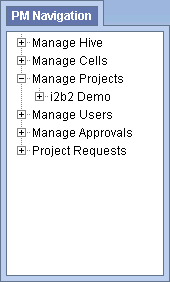
1. In the Navigation panel, expand Manage Projects to display a list of projects. |
| indent |
|---|
|
|
| indent |
|---|
|
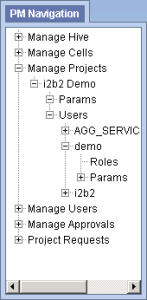
2. Expand the name of the project that has the user you want to add a role. |
| indent |
|---|
|
3. Expand the name of the user to display a list of options. |
| indent |
|---|
|
|
| indent |
|---|
|
4. Click on the Roles option that displays under the user's name. |
| indent |
|---|
|
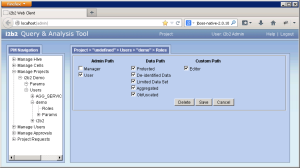
5. The Roles Management page will display on the right side of the window pane. |
| indent |
|---|
|
|
| indent |
|---|
|
6. Check of the roles that are appropriate for the user in that project. |
| indent |
|---|
|
7. Click on Save to save the changes. |