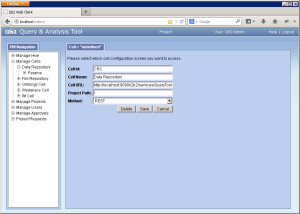
Now that you have installed the cells the next step is to update the cell data in the i2b2 Administration Module. The following steps will guide you through the process of editing existing cell data. This is needed for any installation that does not use the demo URLs (i.e. http://localhost:9090/...)
| Excerpt Include |
|---|
| 9.7 Update ONT Cell Data in i2b2 Standalone Admin |
|---|
| 9.7 Update ONT Cell Data in i2b2 Standalone Admin |
|---|
| nopanel | true |
|---|
|
| indent |
|---|
|
4. In the left navigation panel, click on a cell name to display the edit page. |
| indent |
|---|
|

|
| indent |
|---|
|
5. Modify the Cell URL to the IP or domain name where that cell is located. |
| indent |
|---|
|
6. Click on Save to file the changes in the table. |
The i2b2 Web Client and Workbench will now be able to connect to the cell. For additional setup information regarding projects, users, parameters, etc. please see the chapter titled Initial Setup
